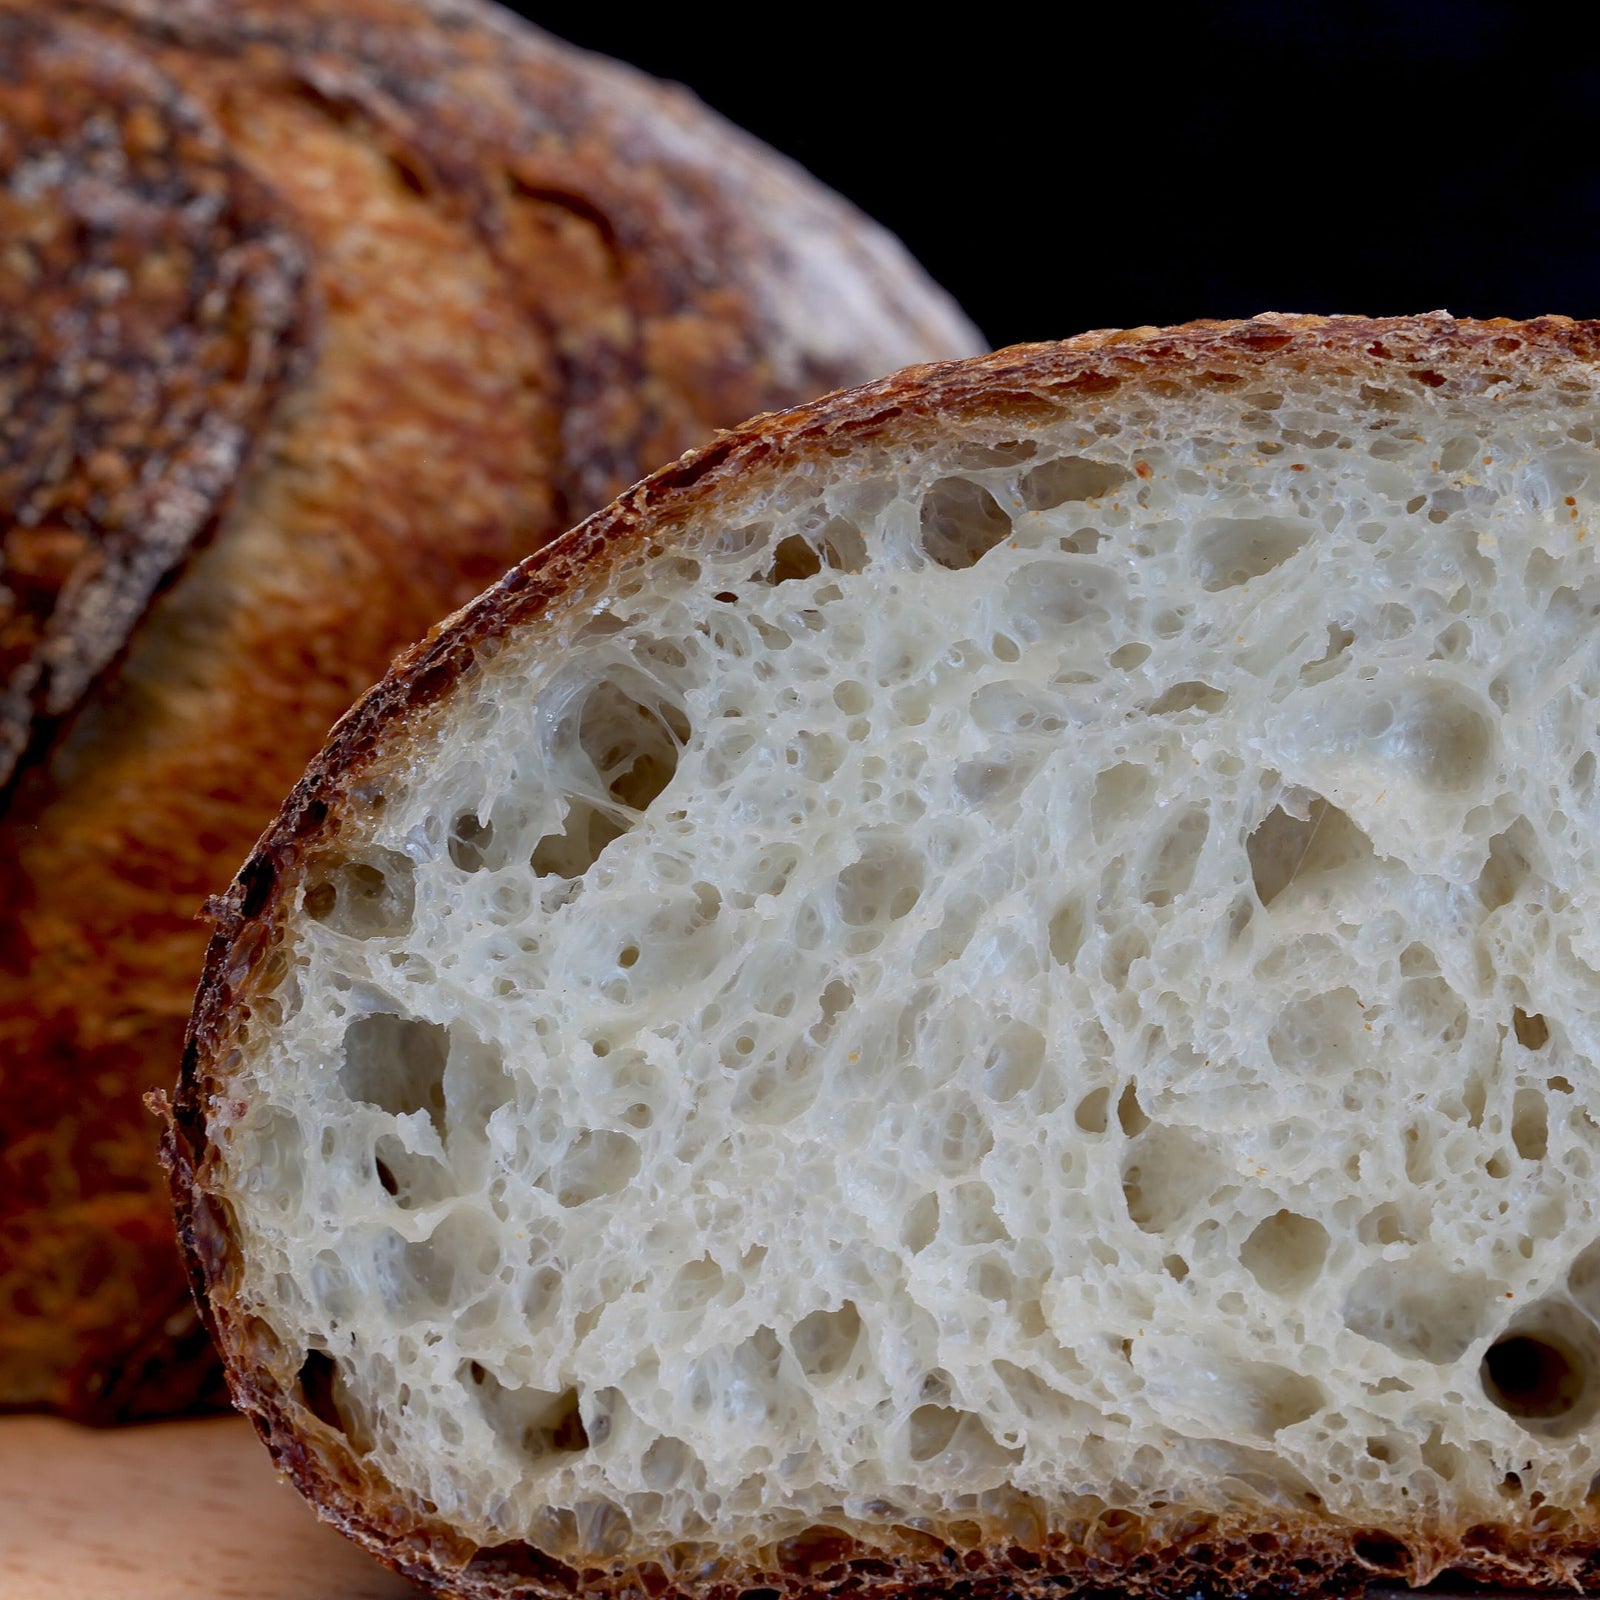
Sourdough is great for so many reasons, each loaf is unique and tells a story. Sourdough not only tastes great but lasts longer than a standard instant yeast loaf and makes for the best breadcrumbs when it is passed the point of toast.
Here is a simple (as far as sourdoughs go) recipe for the starter and then how to use the starter to create your own masterpieces.
How to Make a Sourdough Starter:
What You'll Need:
- 1 cup of stoneground flour
- 1/2 cup of lukewarm water (not too hot, not too cold)
- A glass or plastic container with a lid (avoid metal containers)
- A kitchen towel or plastic wrap
- Patience!
Instructions:
-
Day 1: Getting Started
- In your glass or plastic container, combine 1/2 cup of lukewarm water and 1/2 cup of stoneground flour.
- Mix it until it's smooth, like a thick pancake batter.
- Cover the container with a kitchen towel or plastic wrap and let it sit at room temperature (around 21-24°C).
-
Day 2: Check for Bubbles
- Look closely at your mixture. Do you see any tiny bubbles? If not, don't worry, it might take a bit longer.
- If you do see bubbles, that's a good sign! It means wild yeast is starting to grow in your mixture.
-
Day 3: Feeding Time
- Discard half of your mixture (about half a cup).
- Add 1/2 cup of lukewarm water and 1/2 cup of stoneground flour to the remaining mixture.
- Mix it well, cover it, and let it sit.
-
Repeat Day 3 for About a Week
- Each day, discard half of your mixture and feed it with 1/2 cup of water and 1/2 cup of flour.
- You should start to see more bubbles and notice a slightly sour smell. That's your sourdough starter coming to life!
-
It's Ready!
- After about a week, your starter should be bubbly, smell sour, and double in size within 4-6 hours of feeding.
- Congratulations! You now have a sourdough starter. You can store it in the fridge and feed it once a week.
Now, let's make a simple Sourdough Bread!
Ingredients:
- 1 cup of active sourdough starter
- 1 1/2 cups of lukewarm water
- 4 cups of stoneground flour (we love stoneground as the flour retains more of the wheats natural oils)
- 1 1/2 teaspoons of salt
Instructions:
-
Mix the Dough:
- In a large mixing bowl, combine the sourdough starter and lukewarm water.
- Add the flour and salt, and mix it with a wooden spoon until it forms a shaggy dough.
-
Knead the Dough:
- Flour your hands and a clean surface.
- Turn the dough out onto the floured surface and knead it for about 10-15 minutes until it becomes smooth and elastic.
-
Let it Rise:
- Place the dough back into the bowl, cover it with a clean kitchen towel, and let it rise at room temperature for about 4-6 hours. It should double in size.
-
Shape the Dough:
- Gently punch down the dough to release air bubbles.
- Shape it into a round loaf by folding the edges towards the center and then flipping it seam-side down.
-
Second Rise:
- Place the shaped dough on a floured surface or in a floured proofing basket if you have one.
- Cover it with a towel and let it rise again for 1-2 hours.
-
Preheat the Oven:
- Preheat your oven to 230°C with a Dutch oven or a heavy, oven-safe pot inside.
-
Bake the Bread:
- Carefully place the risen dough into the hot Dutch oven or pot.
- Cover it with the lid and bake for 30 minutes.
- Remove the lid and bake for an additional 15-20 minutes until the bread is golden brown.
-
Cool and Enjoy:
- Let your freshly baked sourdough bread cool on a wire rack for at least an hour before slicing.
- Slice it up, add your favorite toppings, and enjoy your homemade sourdough!
Remember, sourdough baking takes practice, so don't be discouraged if your first loaf isn't perfect. Keep experimenting, and you'll become a sourdough expert in no time!

